Painting
The plates are very easy to paint with a simple spray can. I have used Rustoleum gray primer and then a color that compliments the safe you are working on. Gloss Black is always a good choice. Clear also looks nice.
Clean the plate to remove any oils using lacquer thinner or some other solvent. Once clean and dry, spray on the primer in a dust-free environment. Allow the primer to dry according to the instructions on the can, and then apply your finish coat. Easy!
Re-Graining Aluminum
The plates ship with a factory #4 brushed finish, which is a light grain similar to what you see on a kitchen appliance. Contact with any other metal object can lightly scratch this finish, but it is easy to repair.
Simply use a flat sanding block with a very fine grit wet/dry sandpaper (220 – 400) and sand in one direction with the grain. You should only need one grit. After sanding, you can leave it raw or spray it with a clear coat or a color.
Re-Graining Stainless Steel
The plates ship with a factory #4 brushed finish, which is a light grain similar to what you see on a kitchen appliance. Contact with any other metal object can lightly scratch this finish, but it is easy to repair.
There are several easy ways to quickly remove or disguise scratches.
- Bar Keepers Friend (Like Ajax only better) and a scotch brite pad
- or sandpaper
- or valve grinding compound.
For a quick touch-up I was able to get good results with a green scotch bright pad and some bar keeper’s friend. Dampen the scotch Brite pad with water and apply a little BKF to the part. Rub the part WITH the grain. Clean and apply a very light oil or WD.
Sanding
Materials Needed:
- Sandpaper – 3 grits, coarse, medium, and fine. I used 220 as my final grit. Use high-quality sandpaper, preferably the wet/dry kind. Test the fine grit first to see if it will be enough.
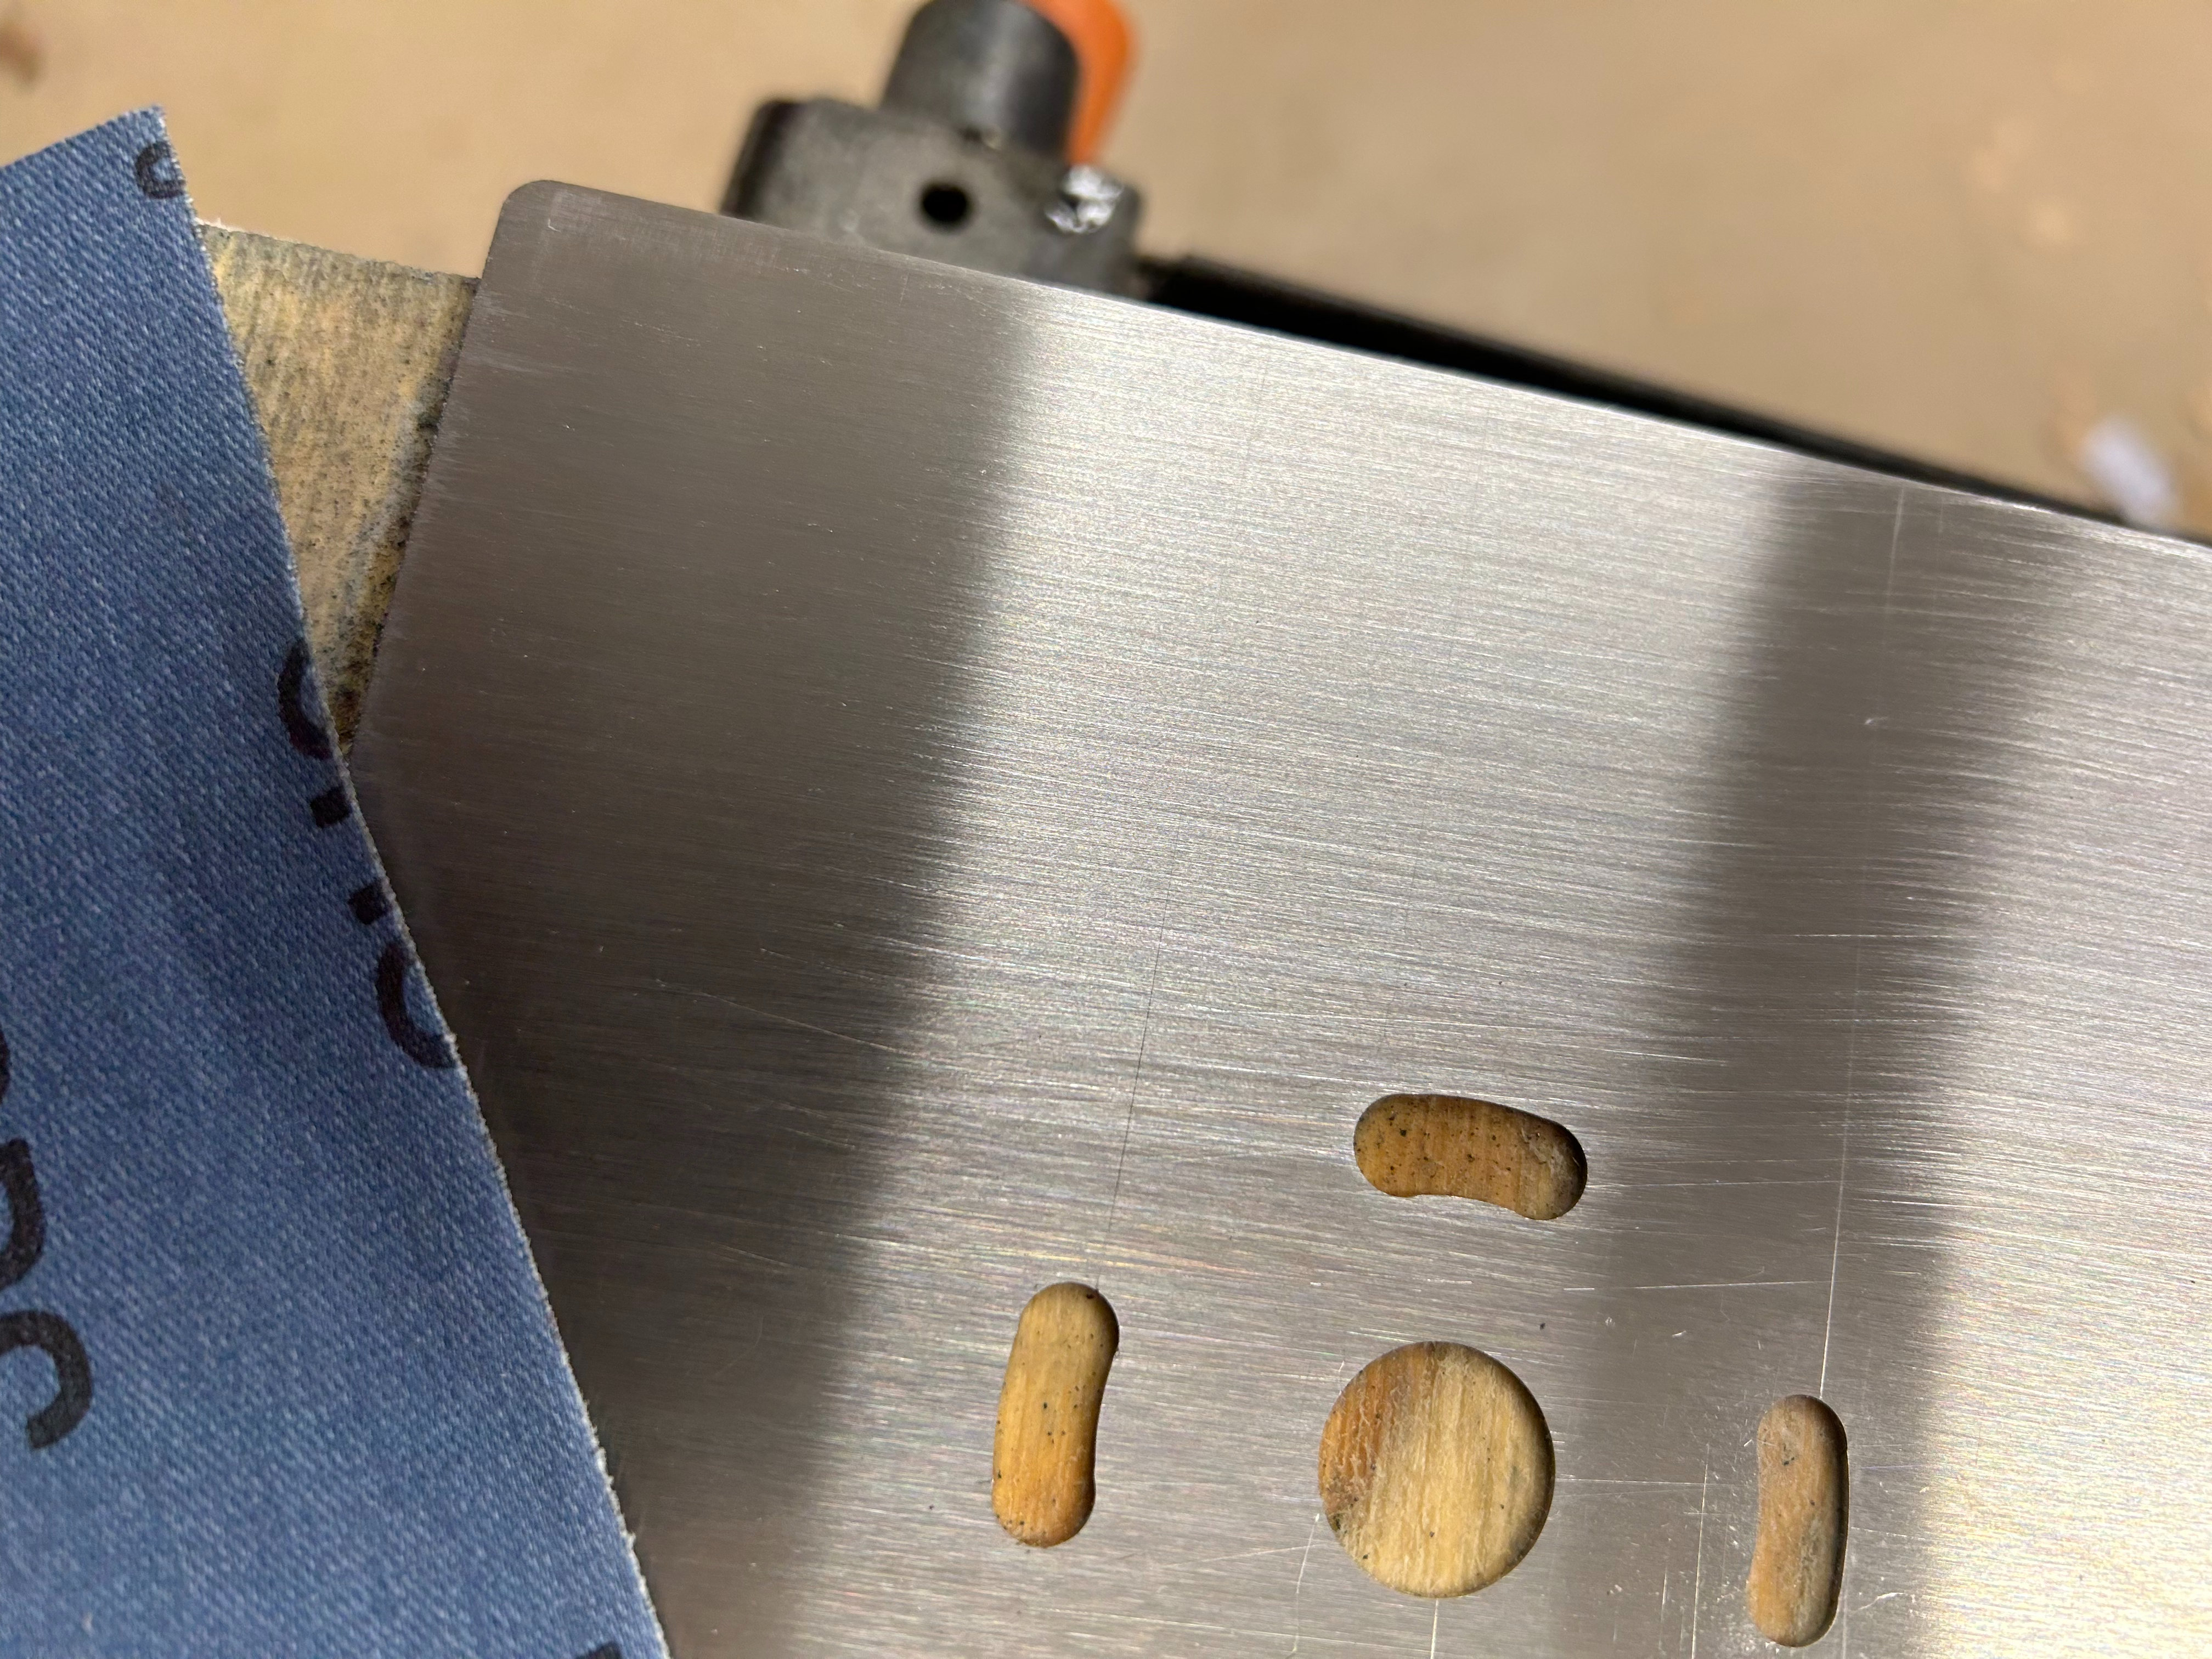
- A flat sanding block – this can be something you buy or just a very flat piece of wood. Just make sure it is very flat.
- Rags and some light oil or WD40
Steps
Step 1. Look at the part and determine the side that you want to fix.
Step 2. Look closely at the part to see the direction of the grain.
Step 3. Place it on a flat-level surface. apply a little water if you are using wet/dry sandpaper, and use your sanding block to sand with the grain. Start with the coarse grit and work toward the fine grit. Experiment to see what works for you. For light scratches, you may only need the fine grit. For heavy scratches, you may need all 3 grits.
WIPE CLEAN the part between grits to remove grit particles from the previous sanding.
Sand ONLY WITH the grain, never against it.
Sand in a straight line. If you move back and forth, make sure you are staying straight.
After about 20 strokes, advance to the next grit until done.
Inspect your part.
I was able to get excellent results on most scratches with the sandpaper technique.
I also tried valve grinding compound and a very flat piece of wood and again got excellent results, but it is messy.
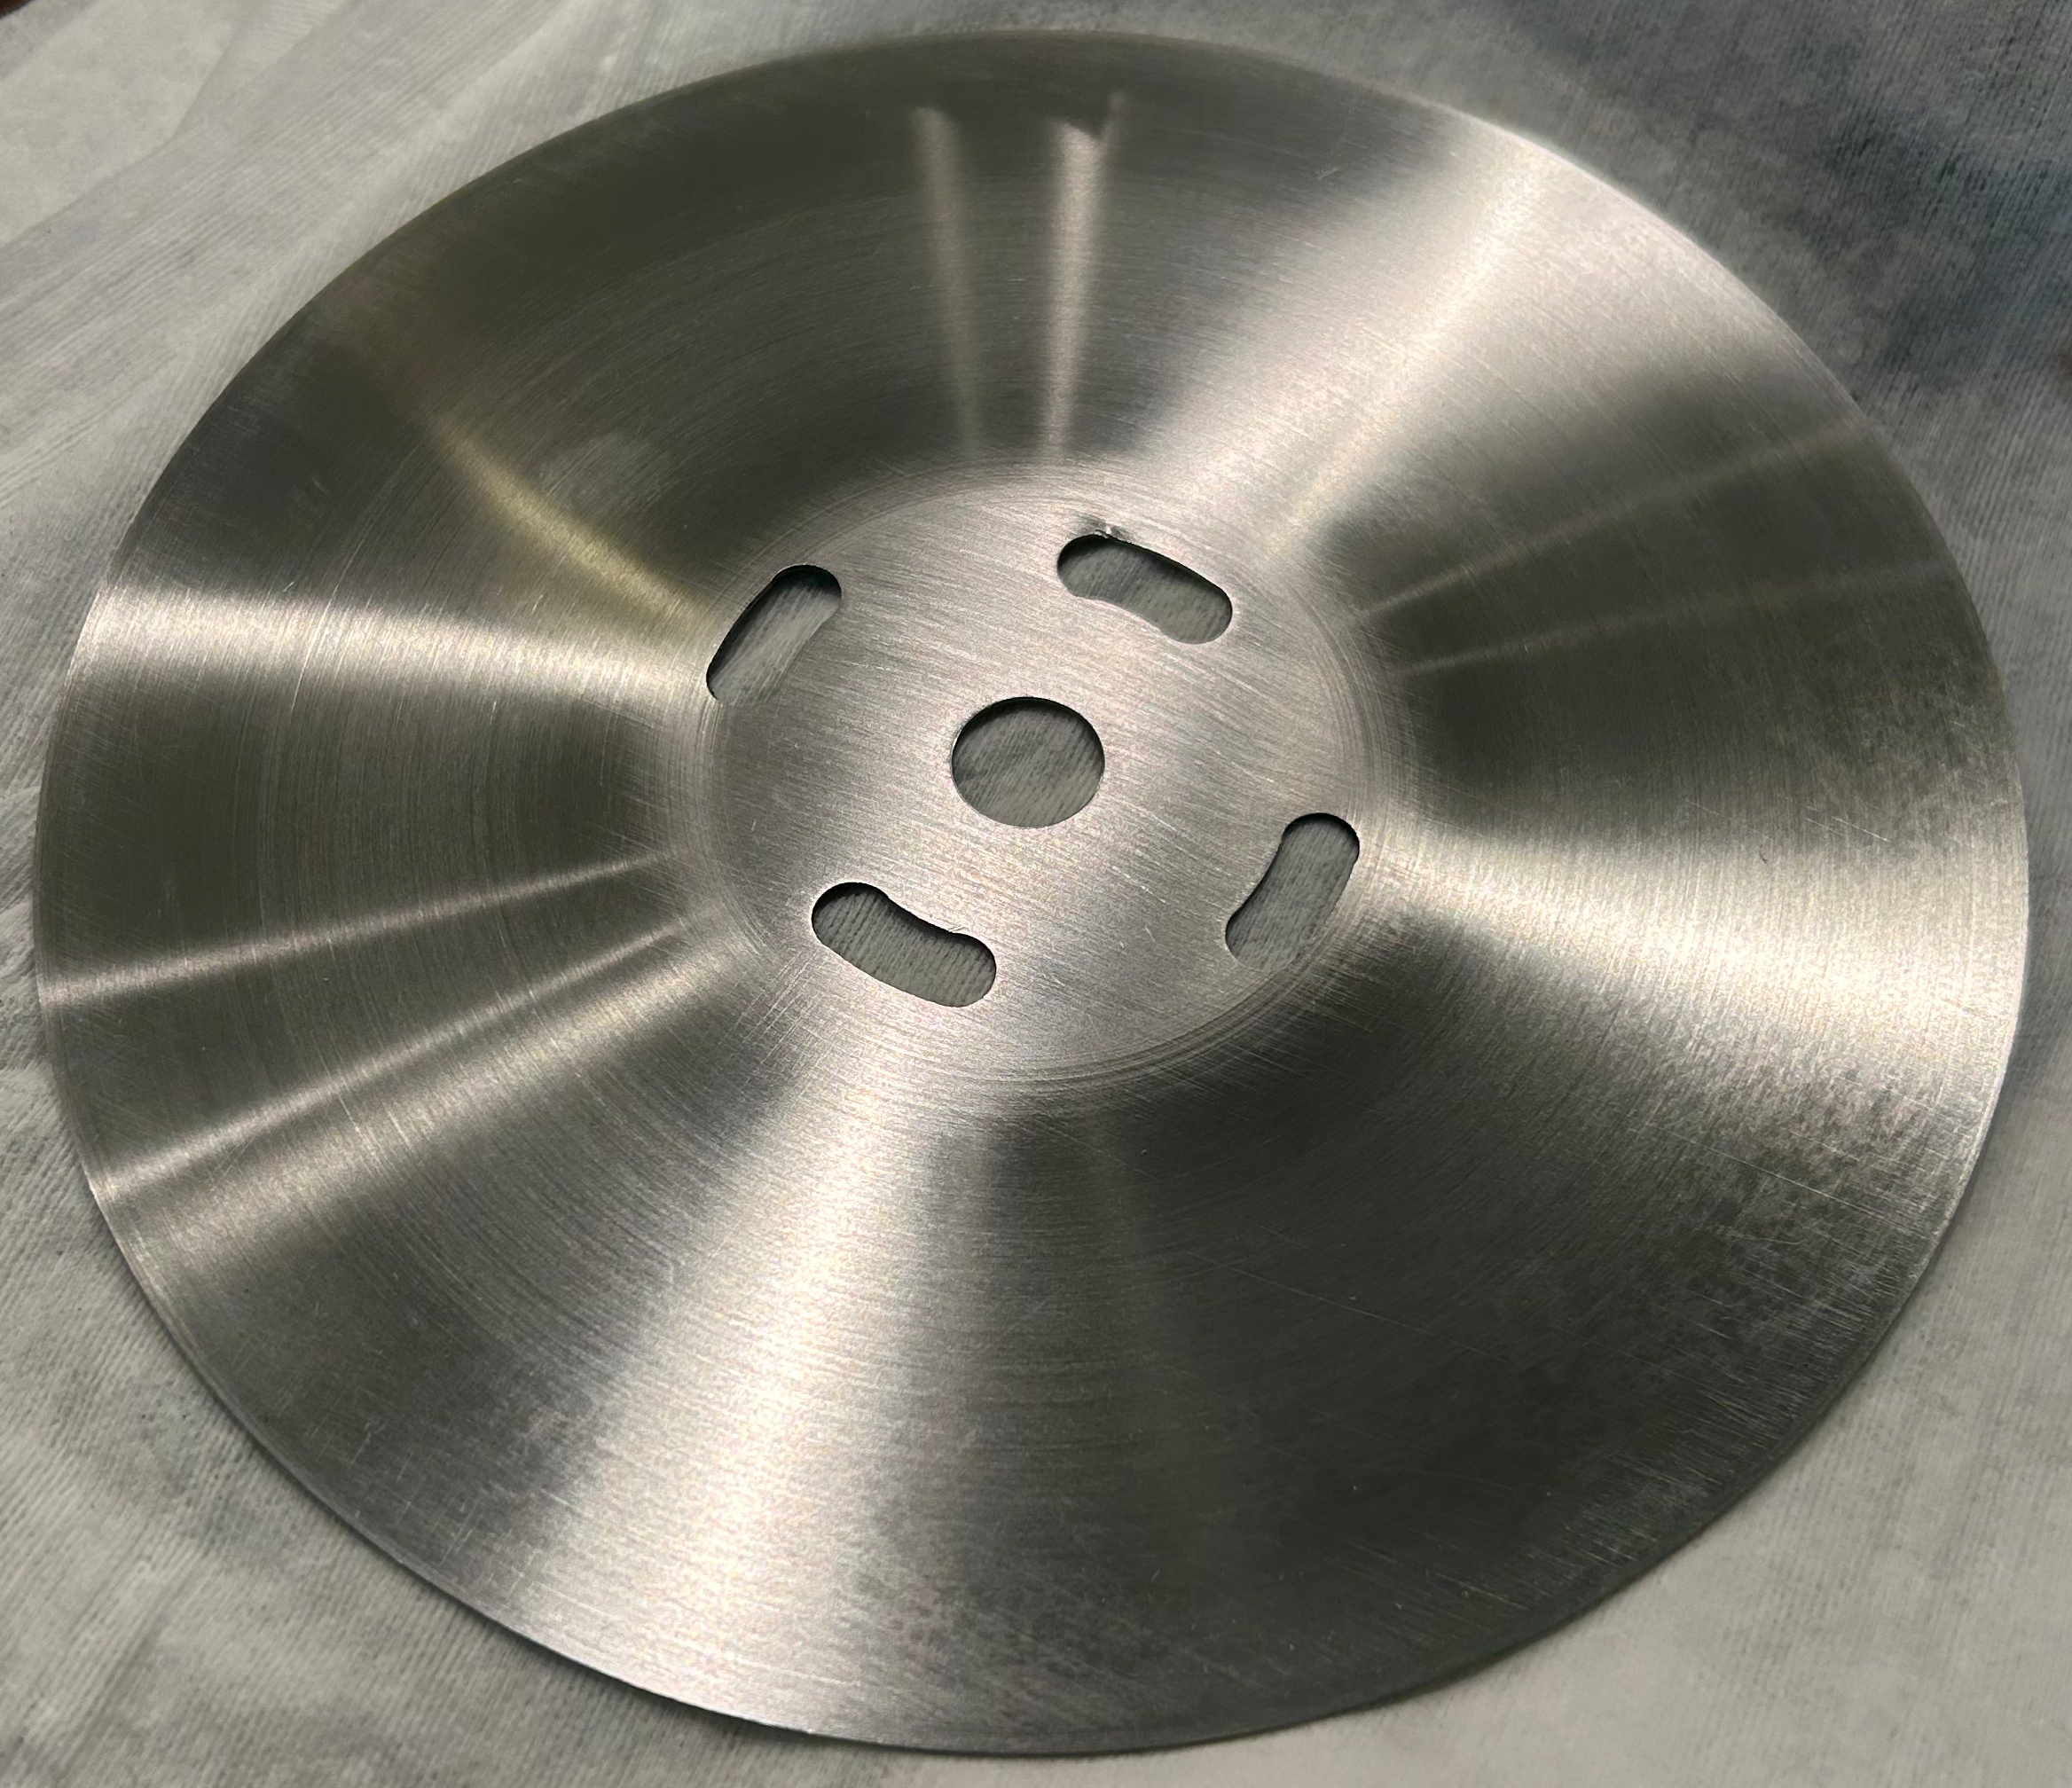
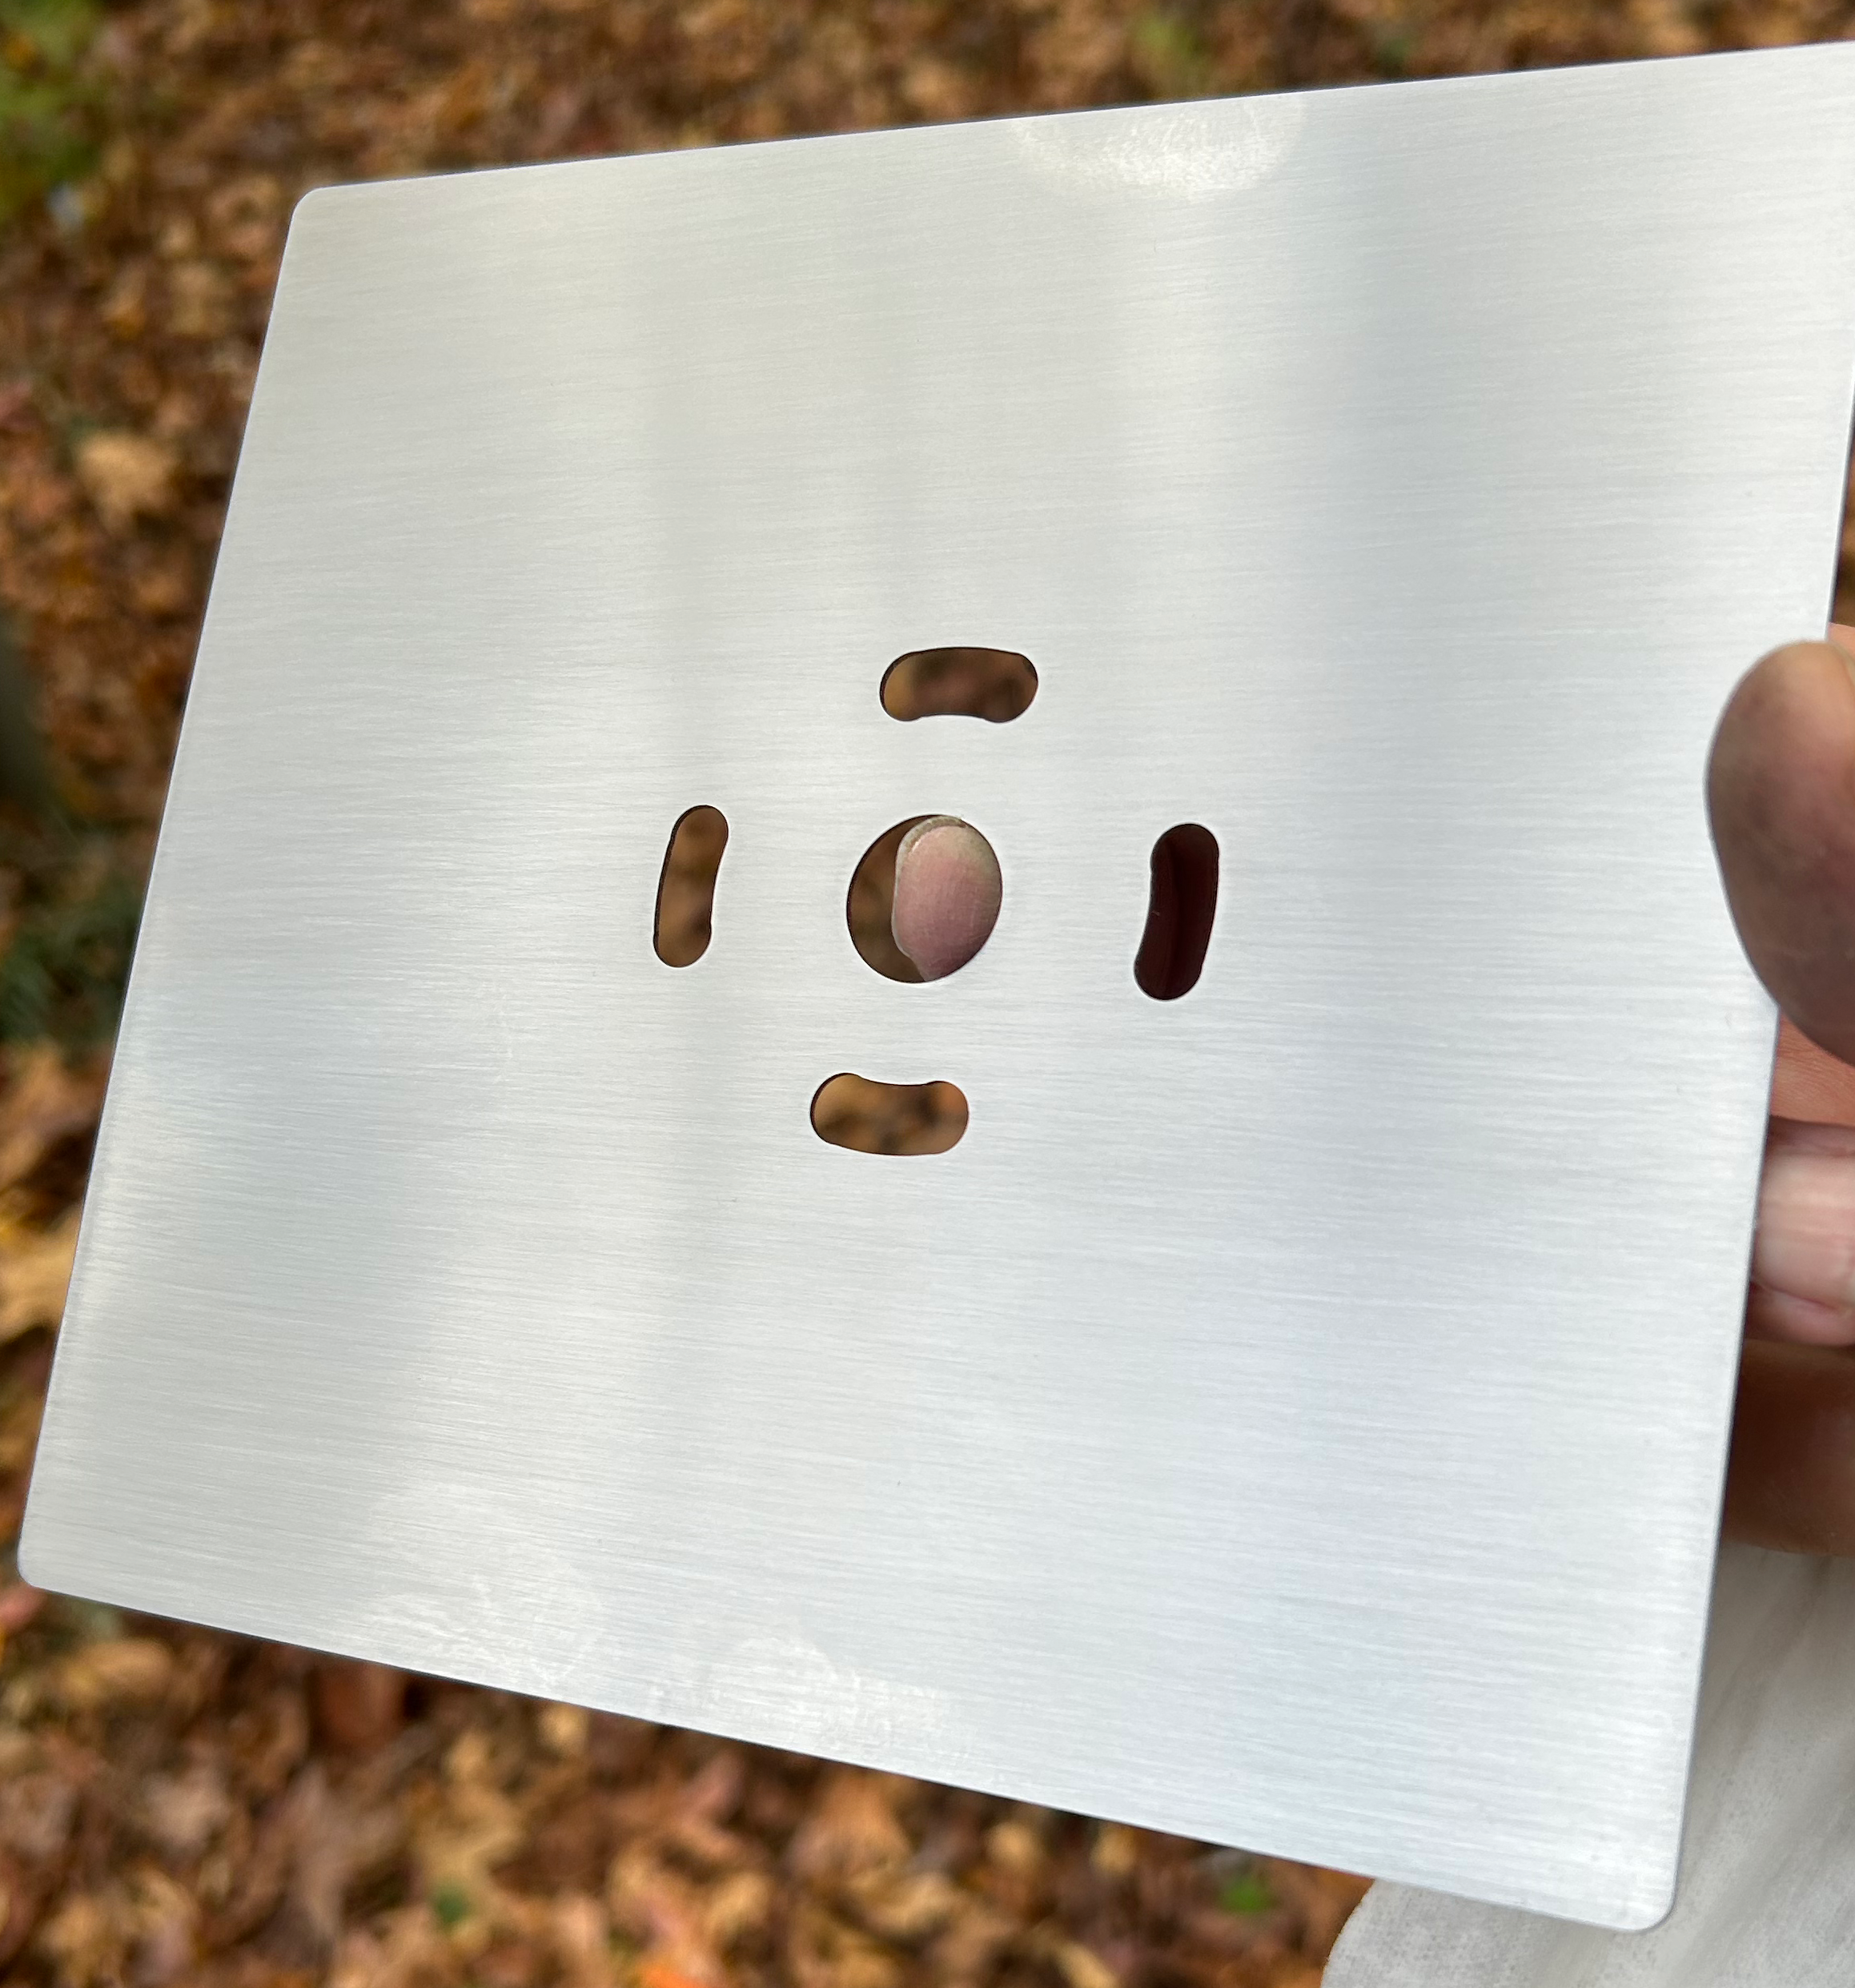
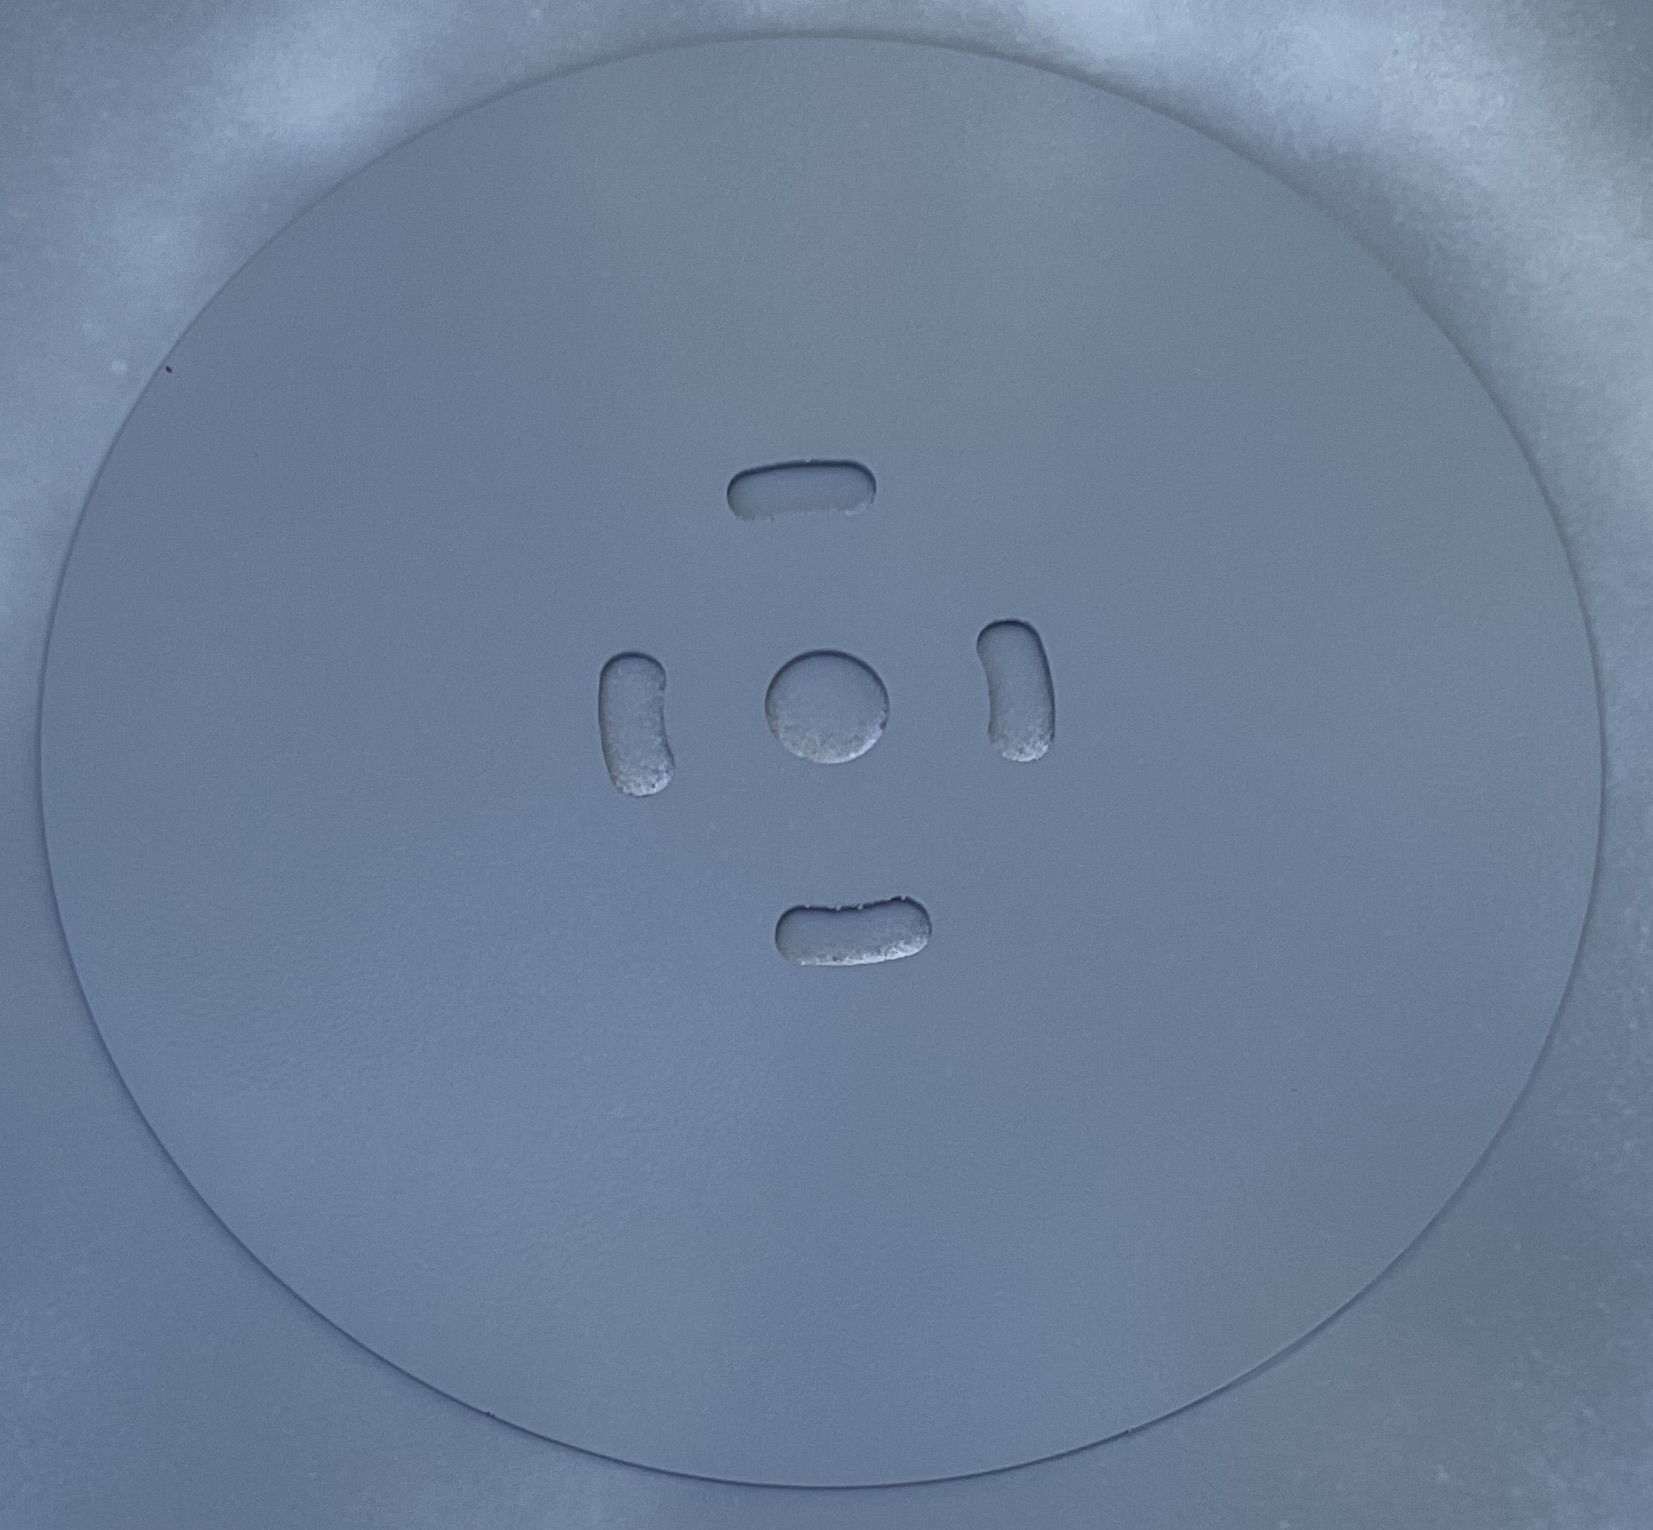
Before and after pictures.
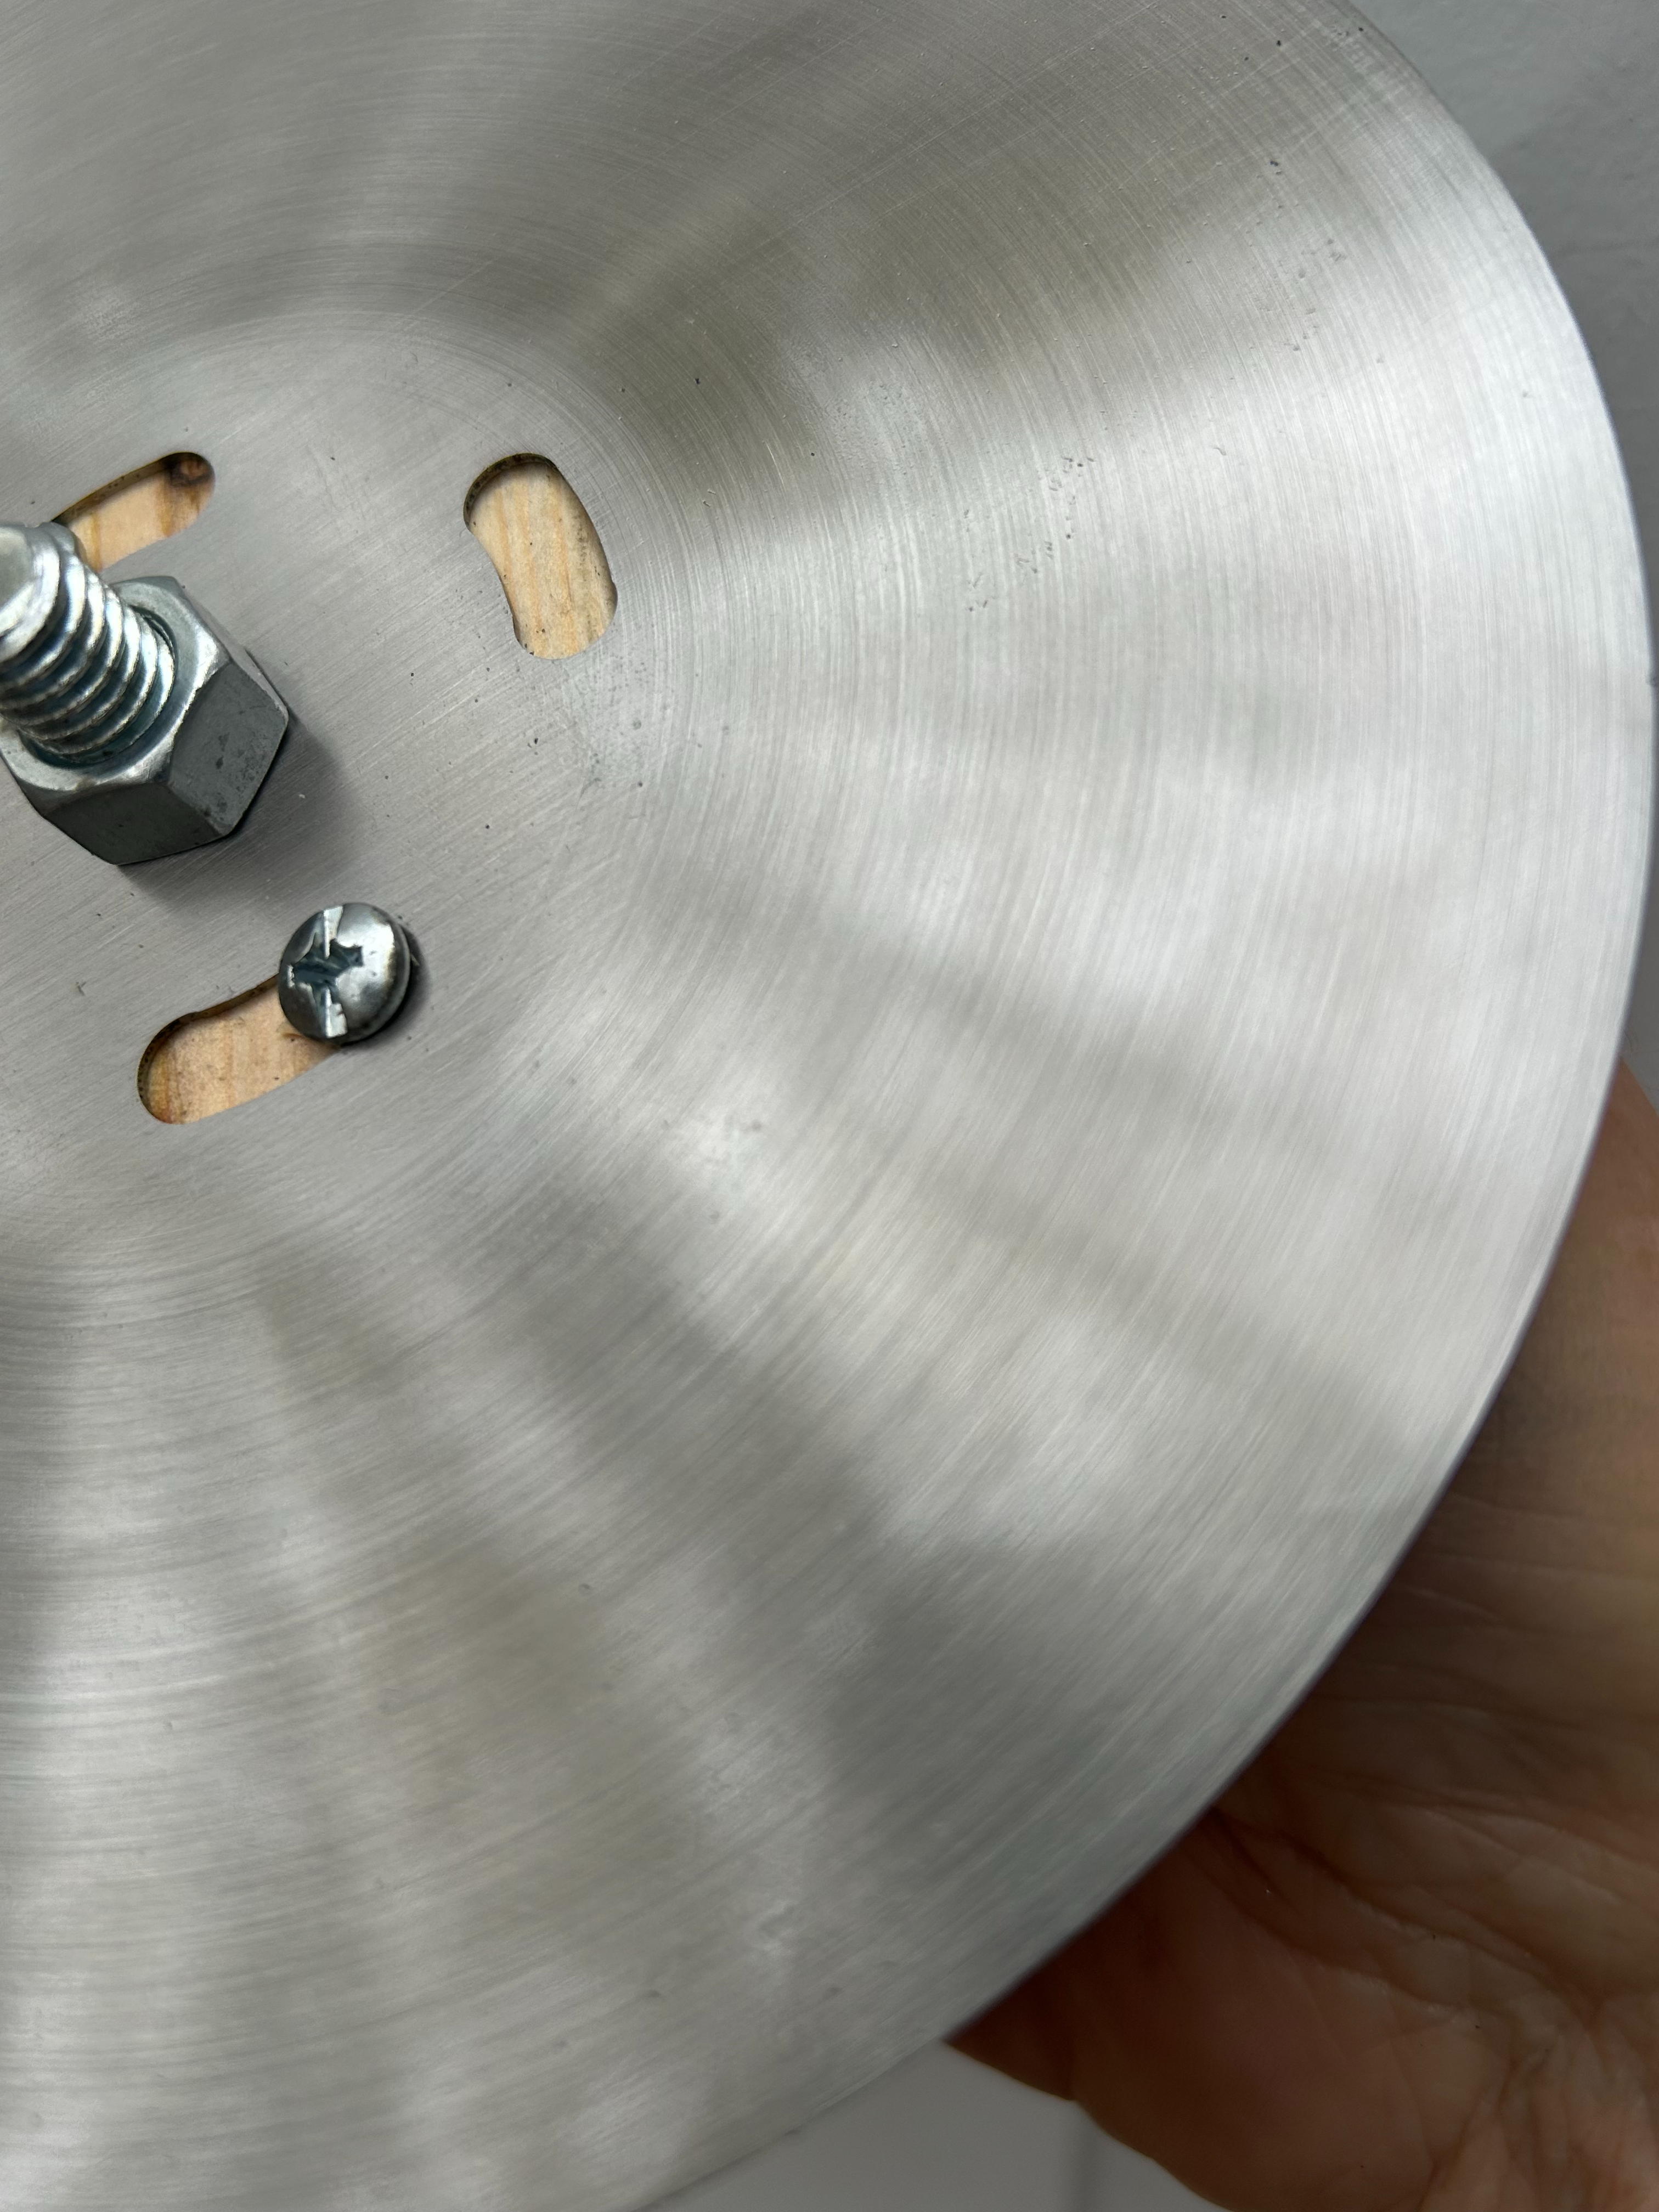
The “special effect” was created by making a simple fixture to spin the plate in a drill press and then applying sandpaper.